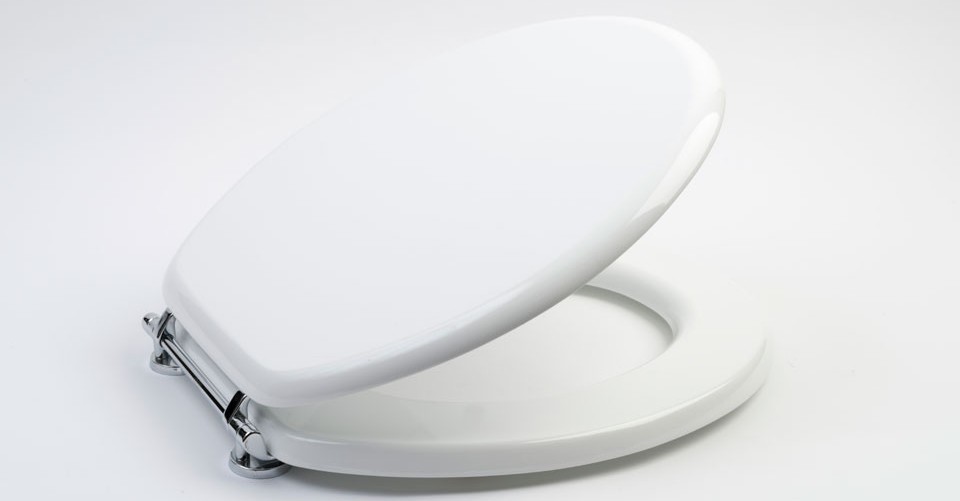

One of the parts of a toilet seat that get worn out with time is the toilet seat hinges. These hinges are located at the rear of the toilet seat and serve to raise and lower the seat. Over time these hinges break or get worn out and should be replaced. If your toilet seat hinges are broken, you do not need to change the whole toilet seat, only the hinges. With the right tools and spare parts in hand you can easily replace your toilet seat hinges.
Step 1 – Remove the Seat
Lift up the toilet seat lid. You will see two hinges at the base of the lid. Remove the screws that hold the hinges to the lid and remove the lid.
Step 2 – Remove the Protective Caps
Open the protective caps on the hinges. You will need to use the flathead screwdriver to do this. Pry open the protective caps on the hinges.
Step 3 – Remove the Bolts
Under each of the protective caps there are bolts held in place by a nut. Remove them by unscrewing them with your hands.
Step 4 – Remove the Hinges
Once the bolts are free, remove the hinges.
Step 5 – Purchase New Hinges
Take these old hinges with you to the hardware store and get replacements for them. Make sure they are the same size and compatible to the toilet lid.
Step 6 – Fix the Hinges
Remove the hinges from its packaging and attach it to the toilet seat, making sure the screws are tight.
Step 7 – Remove the Protective Caps
Remove the protective caps from the hinges so that they can be inserted into the toilet base